Add and edit every DNS record type NameBright supports, change your nameservers, set up subdomains and URL forwarding, and turn on DNSSEC.
Manage Custom Nameservers
GUIDE-7.15 · 1 min · Updated September 2026
Custom nameservers are for advanced configurations: setting up and hosting your own DNS server for a domain. If your web host asked you to use their nameservers, use Change a Domain's Nameservers instead. That's a standard nameserver change, not a custom nameserver.
Use custom nameservers only if you're creating your own nameservers and hosting them yourself. When you set up a custom nameserver, you're providing your own DNS resolution: NameBright creates a nameserver for your domain at the registry, and you become the authority that responds to DNS requests for it.
If you want to run your own nameserver but don't want to host the DNS software yourself, point its IP address to one of NameBright's DNS server IP addresses instead, and NameBright serves your host records for you.
To add a custom nameserver:
Log in to your NameBright account.
Go to Domain Manager and select a domain.
Under the Nameservers section, select Manage Nameservers .
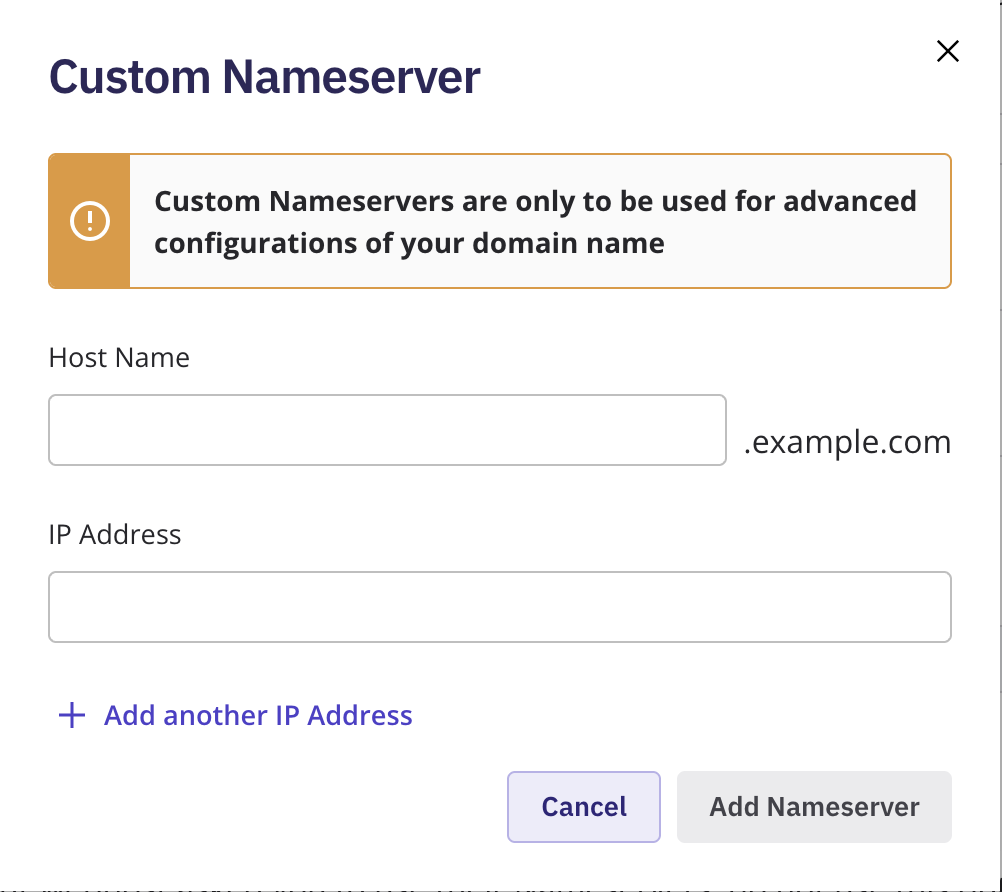
Select Add Custom Nameserver .
Enter your information and select Add Nameserver .
You can edit or delete a custom nameserver from the same Manage Nameservers screen where you added it.