Look up WHOIS information for any domain and turn on privacy protection for your own.
Enable WHOIS Privacy Protection
GUIDE-8.2 · 1 min · Updated September 2026
Log in to your NameBright account.
Go to Domain Manager and select the domain.
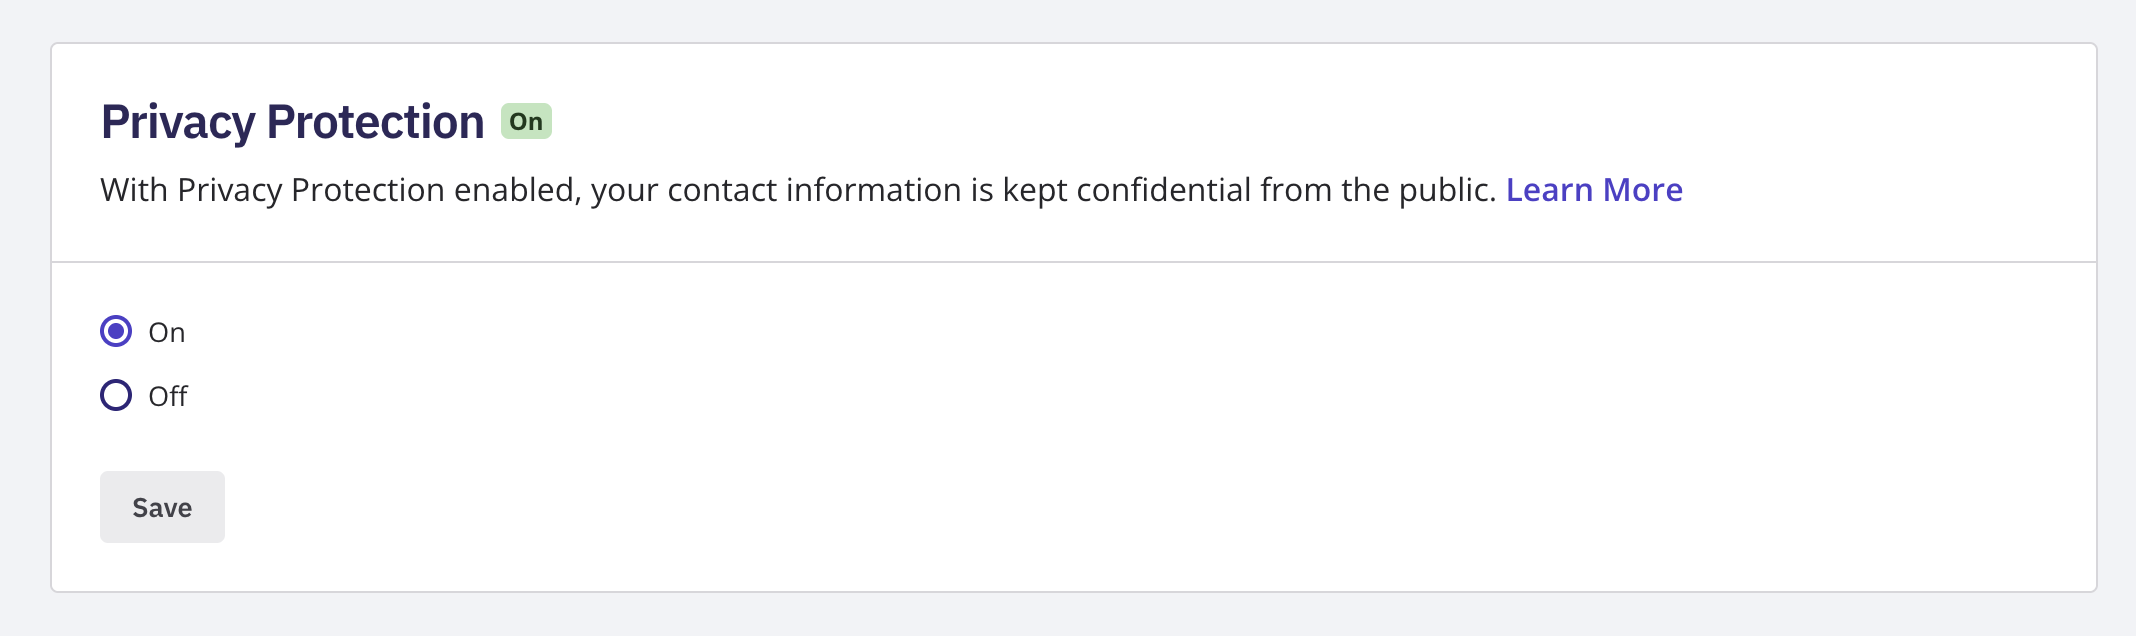
In the Privacy section, select Manage Privacy .
Switch it On or Off and save.
Enable Privacy in Bulk
To enable privacy on multiple domains at once, go to Domain Manager , switch to Advanced view, and select the domains you want to edit. Once at least one is selected, the bulk action buttons above the domain table become active. Select the Privacy bulk action button, then edit the setting the same way you would for a single domain. Save your changes. NameBright applies the update to every domain you selected.
Enable Privacy on a Category
To apply privacy protection to every domain in a category at once, go to My Categories , select the category, open Category Settings , and enable Privacy Protection there.
If you're an EU resident, there's also a separate, account-wide GDPR Privacy setting — see GDPR Privacy.